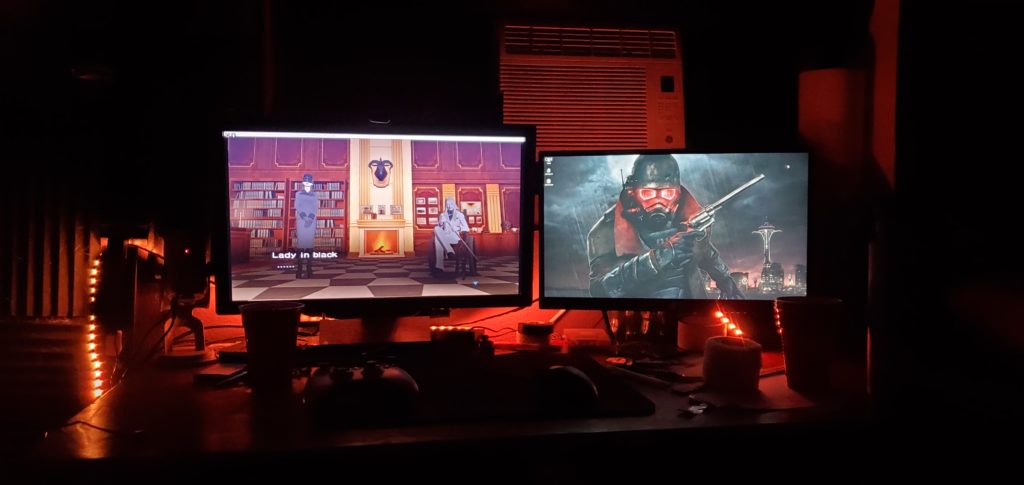
Status: Complete
Type: Microcontroller
Technology: Arduino, PlatformIO, Arduino UNO, C++
In November of 2021 my interest in Arduino, something I had vaguely known of for years. It wasn’t until someone on Youtube who goes by Dave’s Garage made a video that showed up in my recommended feed going over the programming of WS2812B ARGB Strip lights. And so I promptly did my own in a Arduino Emulator which basically allows you to code everything without the physical hardware. Anyhow, the code is below.
Comet Effect
//Simple Comet Effect
//Designed for WS2812B LED strips,
//Tested on an Arduino Uno
//Using the FastLED Library
//Copyright William West 2021
#include <Arduino.h>
#include <FastLED.h>

#define STRIP_SIZE 120 // Length of the LED Strip
#define FPS 60 // Frames per second, speed is tied to FPS
CRGB leds [STRIP_SIZE]; // Creating the LEDS array


void setup() {
  // put your setup code here, to run once:

  // tell FastLED there's 30 NEOPIXEL leds on pin 9
  FastLED.addLeds<NEOPIXEL, 9>(leds, 150);
}
int comet = 12; // Length of the Comet
int r = 255; // red
int g = 255; // green
int b = 0; // blue

int pos = 50; // Position of the Comet
bool dir = false; // Direction false = up, true = down
void loop() {
  int trail = 1; // Iterator for dimming the trail
  if (dir)  // If going down
  {
    pos--; // Position goes downward
    for (int i = pos; i < pos + comet; i++ ) { // Then start a for loop
      FastLED.setBrightness(255/trail);//Setting brightness
      if (i > -1 && i < STRIP_SIZE) { // Checking if we can draw
      leds[i] = CRGB(r/trail,g/trail,b/trail); // Drawing
      }
      else
      {
        break; // Breaking the loop if we cant, reducing unecessary cpu use
      }
      trail++; // iterate trail
    }
    if (pos+comet+1 < STRIP_SIZE) //Checking if we're not at the edge
    {
      leds[pos+comet+1] = CRGB::Black; // If not clean the last pixel on the previous trail
    }
  }
  else
  {
    pos++;
    for (int i = pos; i > pos - comet; i--) {
      FastLED.setBrightness(255/trail);
      if (i > -1 && i < STRIP_SIZE) {
      leds[i] = CRGB(r/trail,g/trail,b/trail);
      }
      else
      {
        break;
      }
      trail++;
    }
    if (pos-comet-1 >= 0)
    {
      leds[pos-comet-1] = CRGB::Black;
    }
  }

  if (pos > STRIP_SIZE)
  {
    dir = true;
  }
  else if (pos < 0)
  {
    dir = false;
  }

  FastLED.show(); //This is what actually draws the leds on the strip.
  delay(1000/FPS); // One second

}
Fire Effect

//Simple Fire Effect
//Designed for WS2812B LED strips,
//Tested on an Arduino Uno
//Using the FastLED Library
//Copyright William West 2021
#include <Arduino.h>
#include <FastLED.h>

#define STRIP_LENGTH 150

CRGB leds [1][STRIP_LENGTH];

void setup() {
  // tell FastLED there's leds on pin 9
  FastLED.addLeds<WS2812B, 9>(leds[0], STRIP_LENGTH);
  //Begin Serial output, platform IO likes 9600.
  Serial.begin(9600);
}

void loop() {
	//Initializing Random
  srand((unsigned) millis());
//Getting a random chance the whole strip will flicker together
  int wholeFlicker = rand() % 500;

  for (int i = 0; i < STRIP_LENGTH; i++) //For loop to iterate through the strip
  {
    int flicker = rand() %10; //Testing if the individual LED will flicker
    int mod = rand() % 55; // Modifier for the red
    int mod2 = rand() %30; // Modifier for the green
    int yolo = rand() %15; // Modifier for the blue
    if (wholeFlicker !=250)  // Testing if the strip should flicker
    {
      if (flicker != 1) // If we're not flickering
      {//We're drawing the regular colors
        leds[0][i] = CRGB(40+mod2, 200 +mod, yolo); //For some reason my strip processes color GREEN, RED, BLUE
      }
      else //Otherwise we're drawing dimmed colors
      {
        leds[0][i] = CRGB((40+mod2) - 40, (200 +mod) -10, 5);
      }
    }
    else //If the whole strips flickering it'd be really dim
    {
      leds[0][i] = CRGB(0,20+yolo,0);
    }
  }
  //This happens after we determine what the strip is doing this 'frame'
  FastLED.show(); // Basically the print or render command
  delay(20); //Wait 20 miliseconds to repeat
}
Red White Blue
//Red White Blue
//Designed for WS2812B LED strips,
//Tested on an Arduino Uno
//Using the FastLED Library
//Copyright William West 2021
#include <Arduino.h>
#include <FastLED.h>

#define RED_PIN 7
#define BLUE_PIN 4
#define GREEN_PIN 5


CRGB leds [1][150];


void setup() {
  // put your setup code here, to run once:

  // tell FastLED there's 30 NEOPIXEL leds on pin 9
  FastLED.addLeds<WS2812B, 9>(leds[0], 150);

  Serial.begin(9600);

  pinMode(RED_PIN, INPUT_PULLUP);
  pinMode(BLUE_PIN, INPUT_PULLUP);
  pinMode(GREEN_PIN, INPUT_PULLUP);
}

int start = 0;

void loop() {
  int color = start;
  int iterator = 0;
  for (int i = 0; i < 150; i++)
  {
    if (iterator > 5)
    {
      iterator = 0;
      color++;
      if (color > 2)
      {
        color=0;
      }
      Serial.println("Color:");
      Serial.print(color);
    }
    iterator++;
    switch (color) {
      case 0: leds[0][i] = CRGB::Blue; break;
      case 1: leds[0][i] = CRGB::Red; break;
      case 2: leds[0][i] = CRGB::White; break;
    }
  }
  FastLED.show();
  start++;
  if (start > 3) {start = 0;}
  delay(2000);

}